How to Stack Rings Without Looking Like a Mess

Ring stacking looks effortless on Instagram. In reality, it takes some thought to avoid looking like you raided a costume jewelry bin. Here is how to build a stack that looks intentional.
Mix Metals. It Is Fine.
The old rule about matching all your metals is dead. Gold and silver together looks modern, not messy. Rose gold with yellow gold is gorgeous. The trick is distribution. Do not put all your gold on one hand and all your silver on the other. Mix them across fingers and it looks like a deliberate choice.
Vary the Thickness
A stack of five identical thin bands looks like one thick band. That is not the goal. Mix a thin plain band with a slightly wider textured band and a medium CZ eternity ring. The variation creates visual interest and makes each ring stand out on its own.
Odd Numbers Look Better
Three rings on a finger looks balanced. Five looks intentionally maximal. Two looks like you forgot one. Four looks like you could not decide. This is not a hard rule, but odd-numbered groupings are naturally more pleasing to the eye. Start with three and go from there.
Which Fingers to Stack On
The ring finger and middle finger are the most popular stacking spots because they are the longest and can handle multiple bands without looking crowded. Index fingers work well for a single statement ring plus one thin band. Pinkies are best left to one ring max, usually a signet or a simple band.
A solid starting combo: 3 rings on your ring finger, 1 statement piece on your index, and nothing on the middle. Or 2 on the ring finger and 2 on the middle. Leave at least one finger bare per hand so the stack has room to breathe.
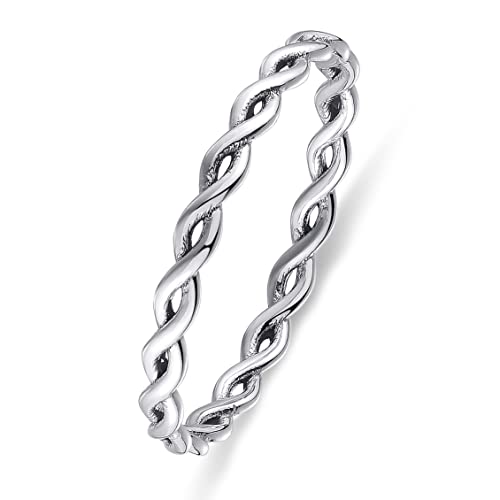
Starter Stack Recommendations
If you are building your first stack from scratch, start with these three pieces: one plain thin band (gold or silver), one textured band (twisted rope or hammered), and one sparkle piece (CZ eternity or pave band). Total cost: $15-30 for the whole stack. You can add from there as you figure out your style.